1. Installation
There are two types of installations:
CLOUDinstallationBOXinstallation
When using the CLOUD installation, none of the settings described in this page are
available as everything has already been pre-installed. When using the BOX installation,
this page documents the different components that are running, how to make changes to them,
and how to start, restart and stop each of the different components.
1.1. CAD4TBbox
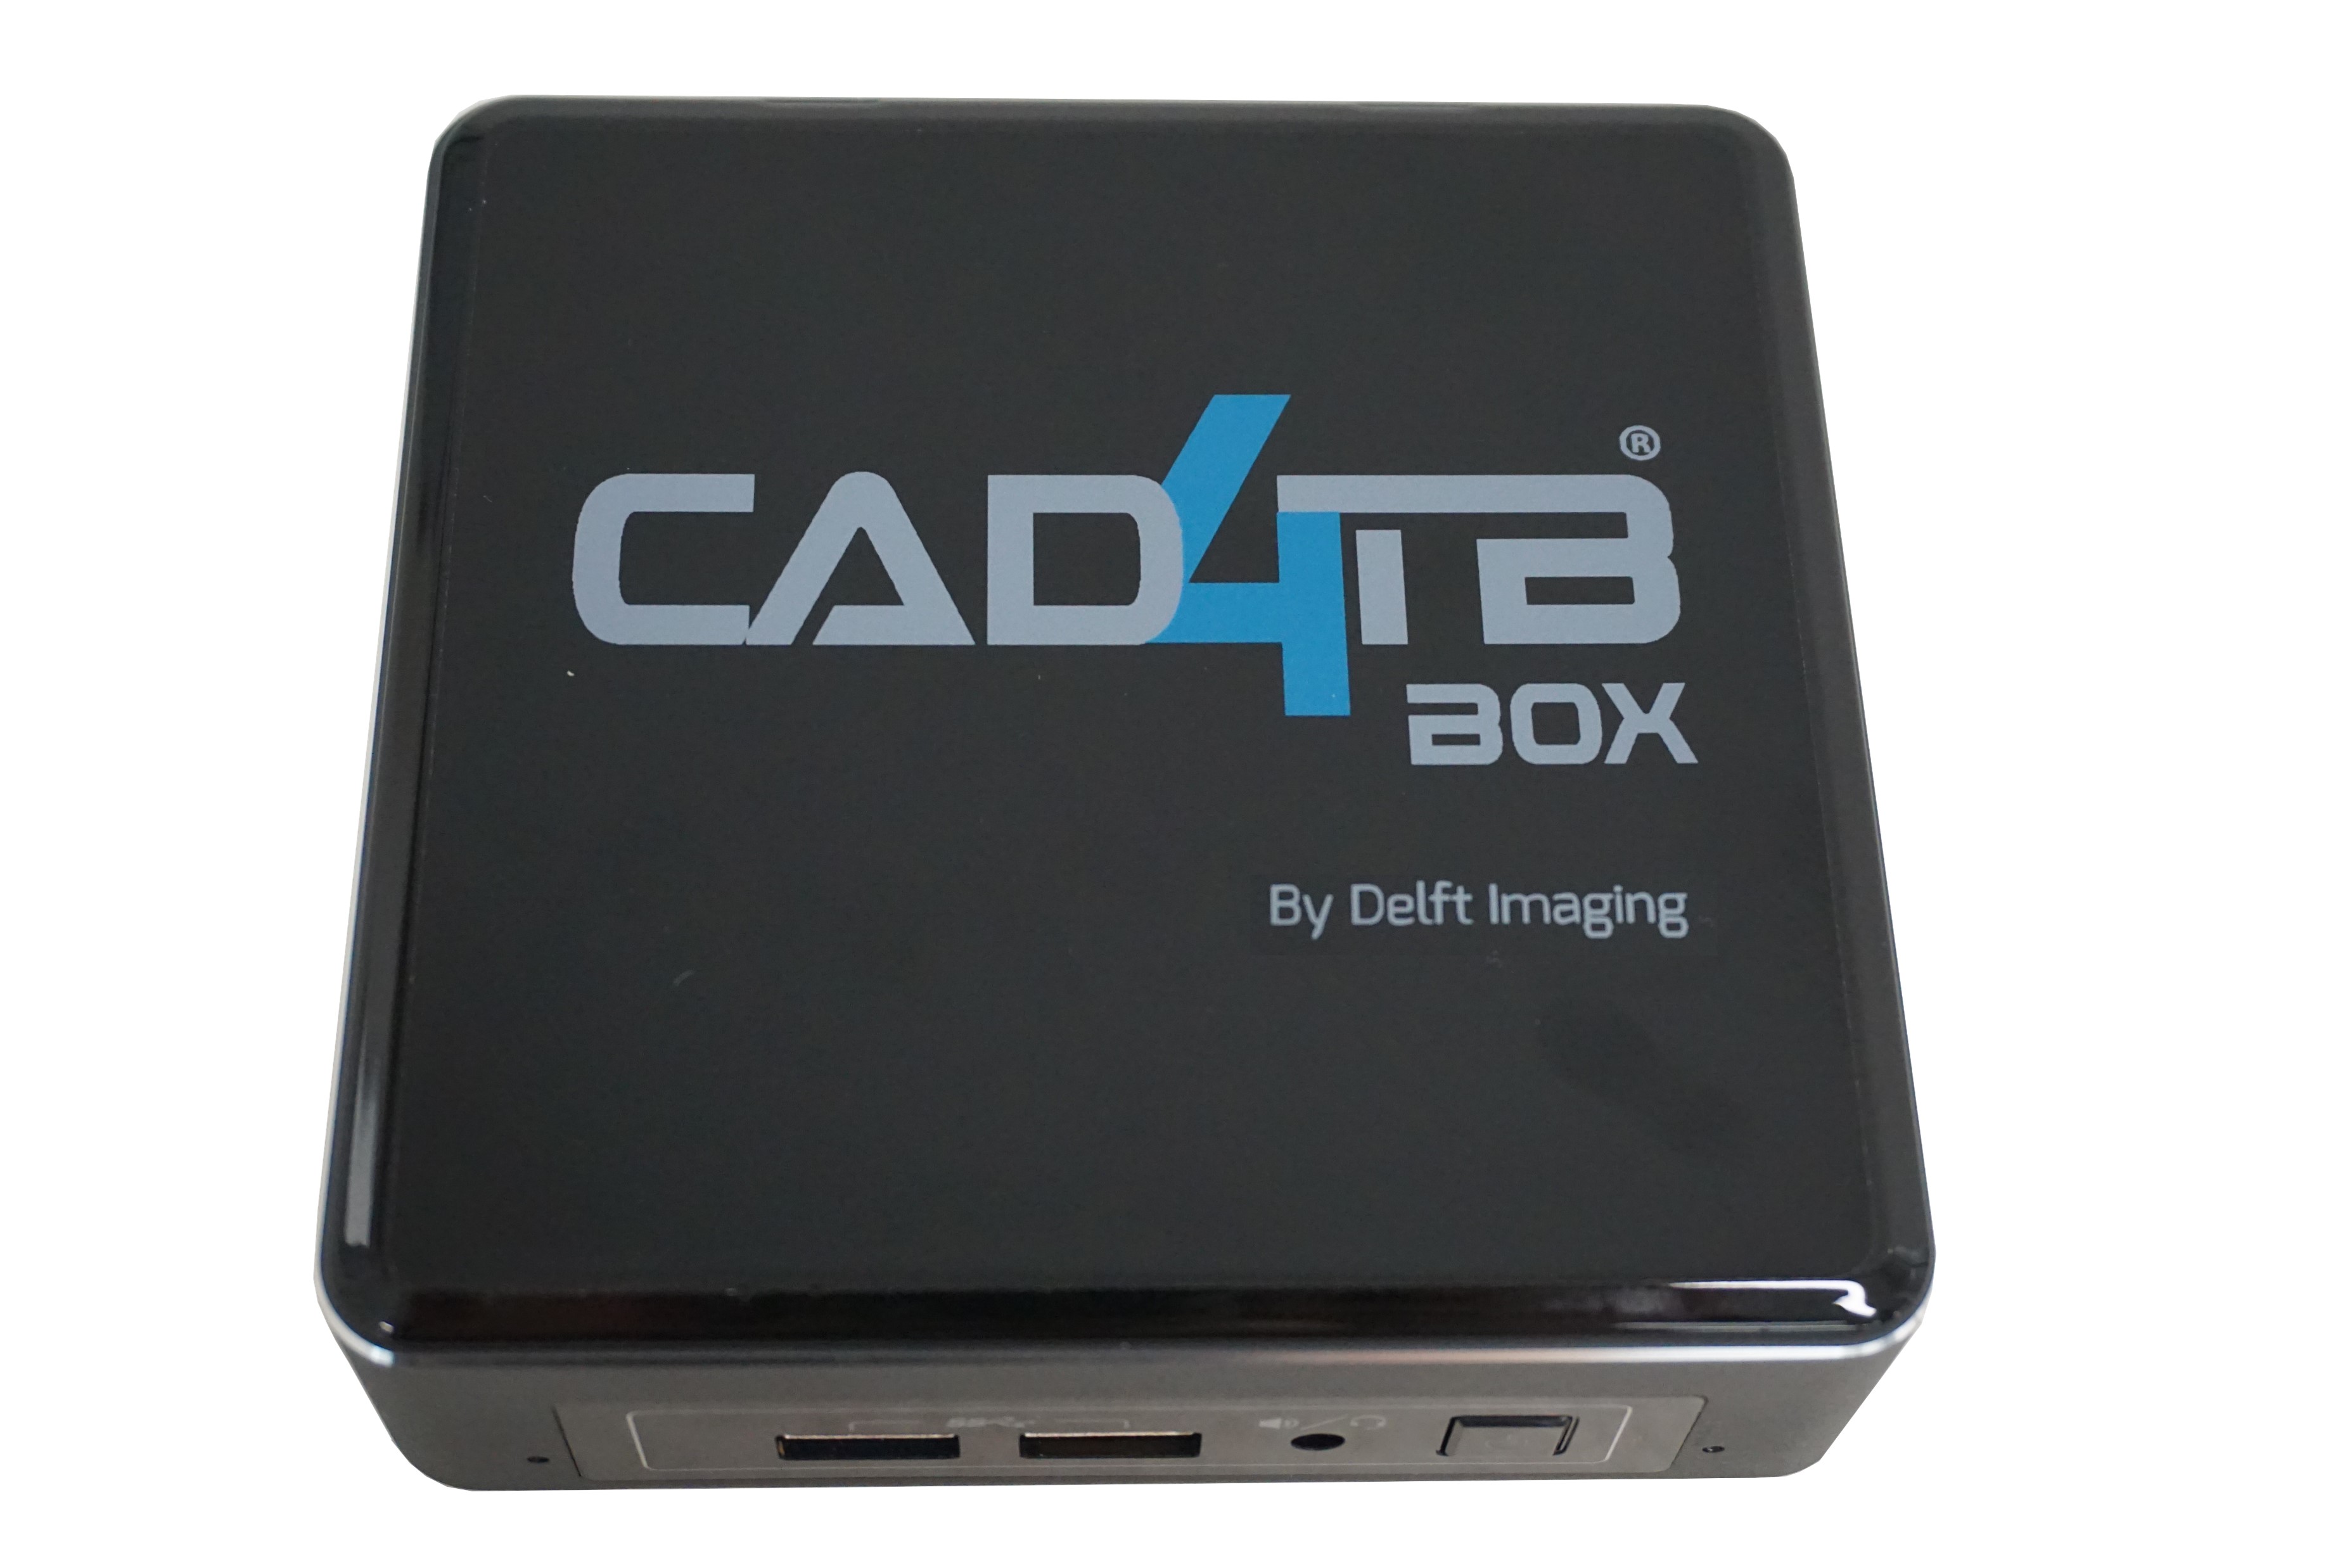
Fig. 1.2 CAD4TBbox
CAD4TBbox is a computer system which can be connected to any digital X-ray unit. The pre-configured package includes a router to allow for connections to external hardware. The connection between CAD4TBbox and digital X-ray unit, uses a DICOM interface connection (via LAN). The box contains the CAD4TB program, a simplified SQL PACS database and a local webserver on which users can, via a wired or wireless connection, access the images and display the CAD4TB results on any device.
The digital X-ray unit, CAD4TBbox and Huawei router are set to fixed IP numbers. See schematic overview in Fig. 1.3
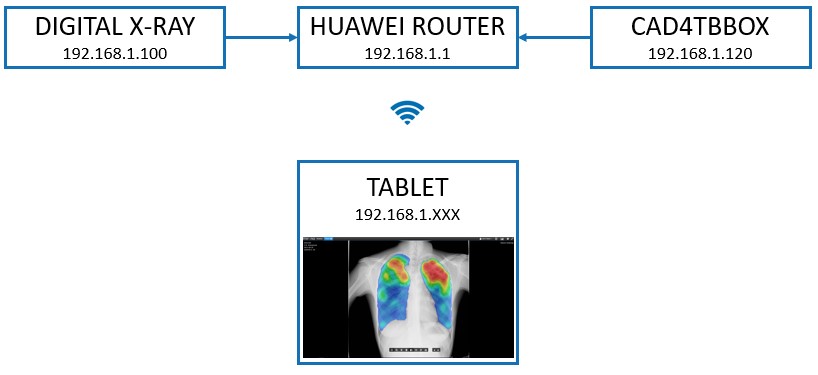
Fig. 1.3 CAD4TBbox components overview
All settings described below can be changed in the admin interface. After logging in to the admin page, go to Box section and click Profiles (Fig. 1.4) , then select the available profile (which in this case is called Default) (Fig. 1.5).
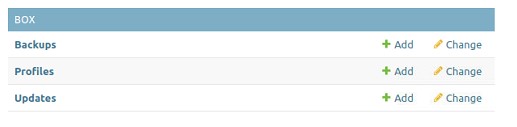
Fig. 1.4 Admin box profile
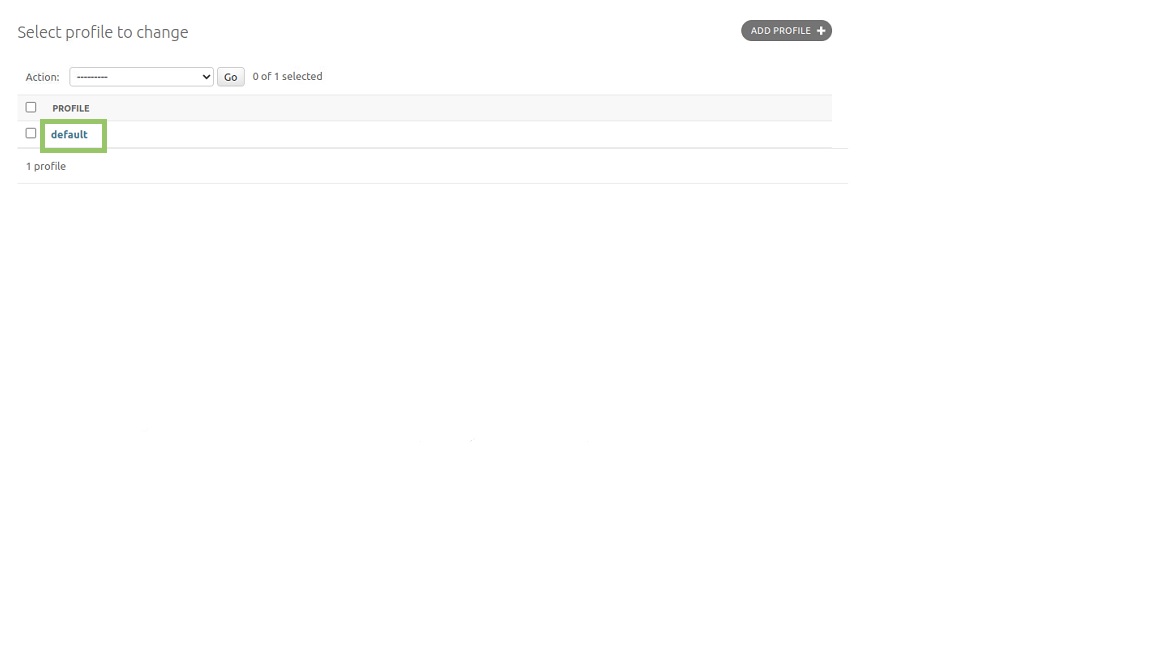
Fig. 1.5 Admin box Default profile
1.1.1. General
The general profile that is used can be set in front-end settings menu. Changes to this profile can be made in the admin page. Multiple profiles can co-exist, but only 1 can be active at the same time. Each profile applies to one archive in the software.
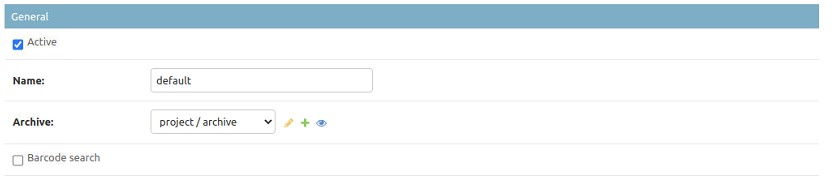
Fig. 1.6 General settings
Configurable options:
- Active:
Whether or not the current profile is active. There can only be one profile active at the same time.
- Name:
Name of the current profile.
- Archive:
Archive on which the current profile applies to.
- Barcode search:
Enable barcode search with this profile. This setting can be useful when the software is used with tablets.
Note
The barcode functionality is still in beta.
1.1.2. Upload
When the box is used together with a central server, the upload settings need to be specified correctly.
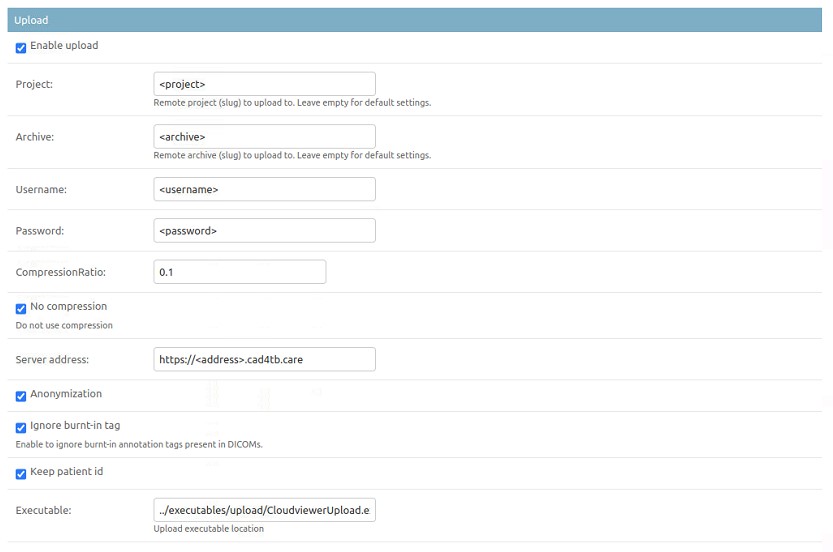
Fig. 1.7 Upload settings
- Enable upload:
Enable upload to central archive.
- Project:
Name of the project on the central server to upload data to. This setting will be provided by the global system administrator.
- Archive:
Name of the archive on the central server to upload data to. This setting will be provided by the global system administrator.
- Username:
Username of the user to upload data to the central server.
- Password:
Password of the user to upload data to the central server.
- CompressionRatio*:
Lossy compression ratio to use when the data is uploaded to the cloud. Range [0,1]. The smaller the value, the smaller the files will be that are uploaded to the central server. When set to 1, lossless compression is applied.
- No compression*:
Apply compression. When unchecked, data is not compressed (also not lossless compressed).
- Server address:
Address of the central server.
- Anonymization*:
Anonymize data before it is being uploaded
- Keep patient installed*:
Keep the patient id when anonymizing data.
- Executable*:
Location where the upload executable is located.
* Advanced settings
When upload is enabled, dicom files will be transferred from the local box to the central server. The status of the upload can be found in the Synchronize/Instance uploads section in the admin interface. This overview lists the status for each file, and shows whether the upload has been successful.

Fig. 1.8 Instance upload overview
In case an error has occured, the error can be checked by clicking on the instance. If for some reason the upload fails, the upload will be retried 10 times. After that, the upload is deemed unsuccessful and will not be retried. Resetting an instance can be done by changing the number of attempts to a number lower than 10, or by deleting the instance upload entry. See the image below for a detailed overview.
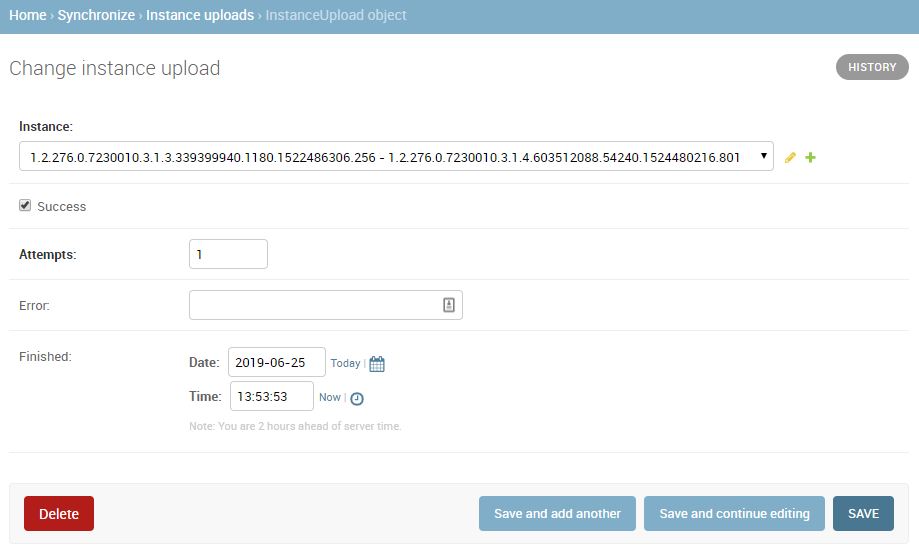
Fig. 1.9 Instance upload details
1.1.3. Dicom transfer
The BOX can receive images from a dicom Service Class User (SCU), such as a Digital X-ray
machine. A Service Class Provider (SCP) is included in the software. The process that takes care
of this functionality is called StoreSCP (settings).
By default, StoreSCP is enabled and it listens on port 104. To make any changes to the default
settings, go to the StoreSCP section in the Profile section of the admin page.
Fig. 1.10 shows the available process options.
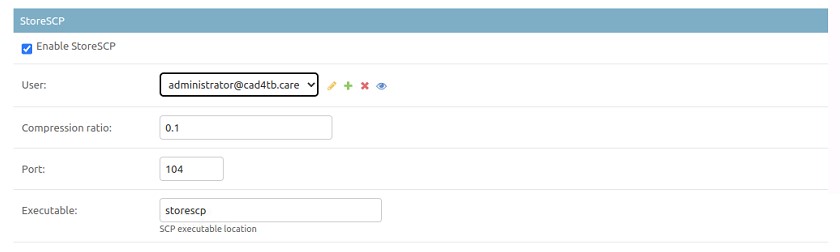
Fig. 1.10 StoreSCP settings
Configurable options:
- Enable StoreSCP:
Enable the StoreSCP process.
- User:
User that is used to import all cases in the system.
- Compression ratio*:
Lossy compression ratio used to compress the image at import. Range [0, 1], where 1 means no compresison.
- Port*:
Port that the StoreSCP process listens on.
- Executable*:
Location where the StoreSCP executable is located.
* Advanced settings
1.1.4. Modality Worklist
The BOX can act as a DICOM Modality Worklist SCP. DICOM Modality Worklist makes patient
demographic information available at a modality. This eliminates the need for retyping, saving both
time and ensuring data integrity.
Only registered patients that have not yet been scanned are returned. If a “Scheduled Procedure Step Start Date” is provided in the request, patients are matched on their registration date. The SCP is also able to match on:
Patient’s Name (0010,0010)
Patient ID (0010,0020)
Patient’s Sex (0010,0040)
Modality (0008,0060)
Though it should be noted that the only valid value for “Modality” is “DX”.
Enabling and configuration can be done via the Modality Worklist SCP section in the profile admin page. Fig. 1.11 shows the available options.
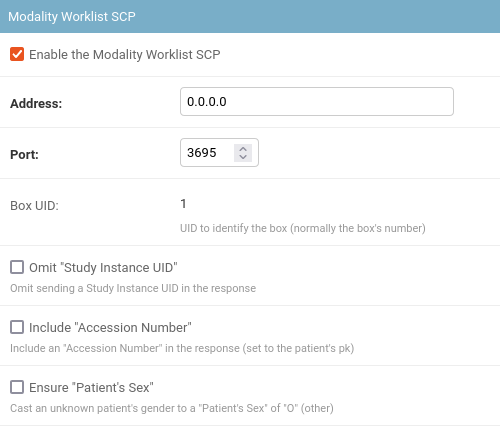
Fig. 1.11 Modality Worklist SCP settings
Configurable options:
- Enable the Modality Worklist SCP:
Enables the Modality Worklist SCP
- Address:
Address the SCP listens on. Default “0.0.0.0” (i.e. any).
- Port:
Port the SCP listens on. Configure the SCU to use the same port number. Default 3695.
- Omit “Study Instance UID”:
When enabled, leaves out a “Study Instance UID”-tag in the response. While required by the standard, some scanners substitute their own UID if it is not present in the response. Note that some scanners fail to retrieve the worklist with this option enabled.
- Include “Accession Number”:
When enabled, includes an “Accession Number”-tag in the response. Convenience option: while not required per the DICOM standard, some scanners require additional manual input per case if not included. The value of the tag is set to the patient’s database id.
- Ensure “Patient’s Sex”:
When enabled, for any patient whose gender has not been filled the SCP will set the “Patient’s Sex”-tag to “O” (for other). While technically not correct, and also not required per the DICOM standard, some scanners are known to fail to retrieve cases without a filled-in “Patient’s Sex”-tag.
1.1.4.1. Scanners with known requirements
- Canon RD
Requires manual input if the “Accession Number”-tag is not present. The ‘Include “Accession Number”’-option is recommended.
- Canon NE
Fails to retrieve the worklist if the “Study Instance UID”-tags are not set. Do not use the ‘Omit “Study Instance UID”’-option.
- Feel-DRCS
Fails to retrieve patients whose “Patient’s Sex”-tag is missing. Use the ‘Ensure “Patient’s Sex”’-option, or make sure to fill in the gender when registering new patients.
1.1.5. Worker
All incoming images can be processed automatically by a worker. This section does not need to be changed.

Fig. 1.12 Worker settings
Configurable options:
- Enable worker:
Enable the worker process.
- Executable*:
Location where the StoreSCP executable is located.
* Advanced settings
1.1.6. Update
Credentials that are used to get updates. These settings will be set by your vendor and should not need any changes.
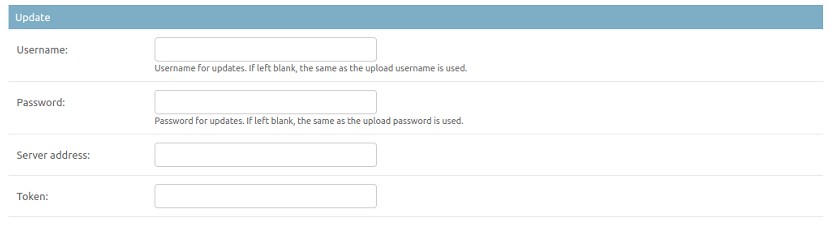
Fig. 1.13 Update settings
Configurable options:
- Username:
Username used for updating.
- Password:
Password used for updating.
- Server address:
Address of the update server. This should start with https://
- Token:
Token used to connect to the update server.
1.1.7. Export
The box can be setup such that Results from the CAD4TB algorithm can be exported to another server. This can be done to export results generated for series processed per project through a designated export method (storescu currently supported). To setup export, both an export method and export profile should be created. This is setup through the main admin page by clicking ‘Export Methods’, under ‘Synchronize’, and then clicking ‘Add Export Method’ in the upper right corner. The ‘Export Profile’ is created in similar fashion by clicking ‘Export Profiles’, under ‘Synchronize’, and then clicking ‘Add Export Profile’ in the upper right corner. The following instructions detail the setup for each of these items.
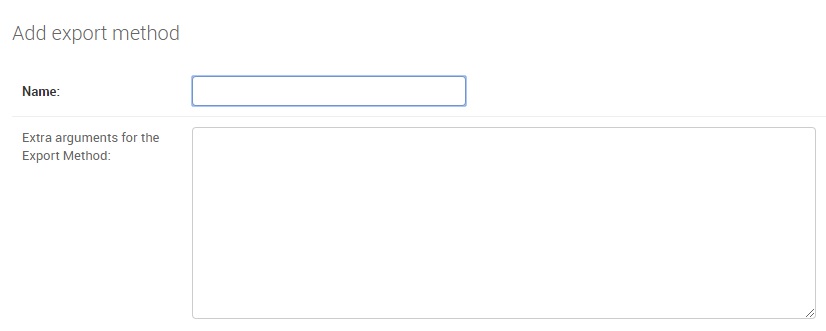
Fig. 1.14 Add an Export Method
Configurable options:
- Name:
Name of the export method to be used.*
- Extra arguments for the Export Method:
Extra arguments to be used with the export method.
* Only StoreSCU export method currently supported. Export method name should be: storescu
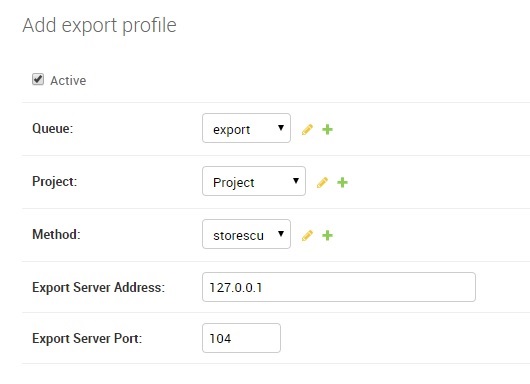
Fig. 1.15 Add an Export Profile
Configurable options:
- Active:
Check the box if export should be activated/deactivated.
- Queue:
Choose the Queue to be used for the export.*
- Project:
Select the project for which CAD4TB results should be exported.
- Method:
Export Method to be used for the profile.**
- Export Server Address:
Server Address to which the export method should send results.
- Export Server Port:
Server Port to which the export method should send results.
* Choose/Create a Queue with name and title of: export
** Choose the export method setup previously.
1.1.8. Synchronize
To synchronize SAM with a remote server, you first need to set up a sunchronization profile. Go to the main admin page and, from the Synchronize menu section on the left, click on the ‘+ Add’ button next to ‘Synchronization profiles’ in. A page to add a new synchronization profile will appear:
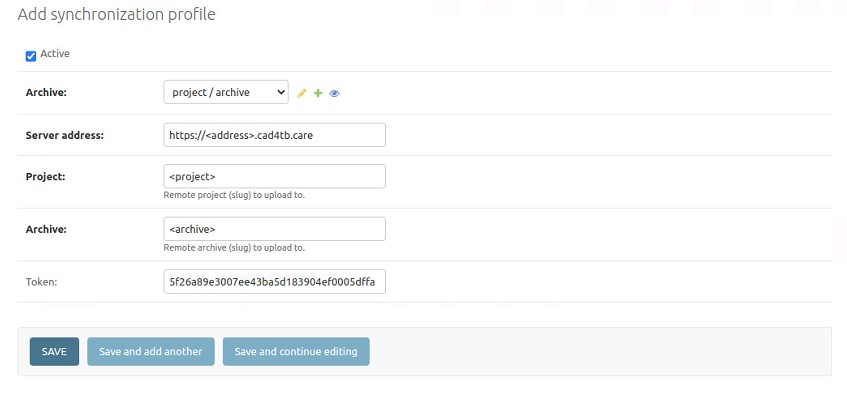
Fig. 1.16 Add a synchronization profile
Configure the following options:
- Active:
Whether or not the profile is currently active.
- Archive:
The local archive you want to synchronize to the central archive.
- Server address:
URL of the remote server.
- Project:
The slug of the project on the remote server.
- Archive:
The slug of the archive on the remote server.
- Token:
The token used to authenticate synchronization requests on the remote server. This is to be obtained via the admin on the remote server.
Once you hit Save, all existing existing SAM data in the local archive will be queued for synchronization. However, only the data related to active profiles will be actually synced.
1.1.9. Printer
The box will share USB printers via the local network. Devices that support DNS Service Discovery (e.g. Android, Apple, Linux) will see the printer immediately. On Windows, additional steps are required:
Go to “Printers & scanners”;
Select “Add a printer or scanner”;
Select “The printer that I want isn’t listed”;
Select “Select a shared printer by name”; - fill in: http://192.168.1.120:631/printers/<printername> - Press “Next”, followed by “OK”, followed by “Next”, followed by “Finish”
If you are unsure of your printer’s name, you may check by visiting http://192.168.1.120:631/printers/.
1.1.10. X-Ray Configuration Options
The X-Ray component provides configuration options to allow the Dichotomization of CAD4TB scores into a positive or negative grouping. This results in the creation of a new Result Type ‘CAD4TB Report’ which can be viewed on the installation through the browser/viewer.
The Dichotomize threshold as well as the messages used for the Positive/Negative groupings can be configured as per project or archive level by navigating to bottom of the Admin Page and clicking on either the X-Ray “Project Configuration” or “Archive Configuration”. Existing configurations can be adjusted or new ones added in the case the Positive/Negative Groups are desired for a different project/archive.
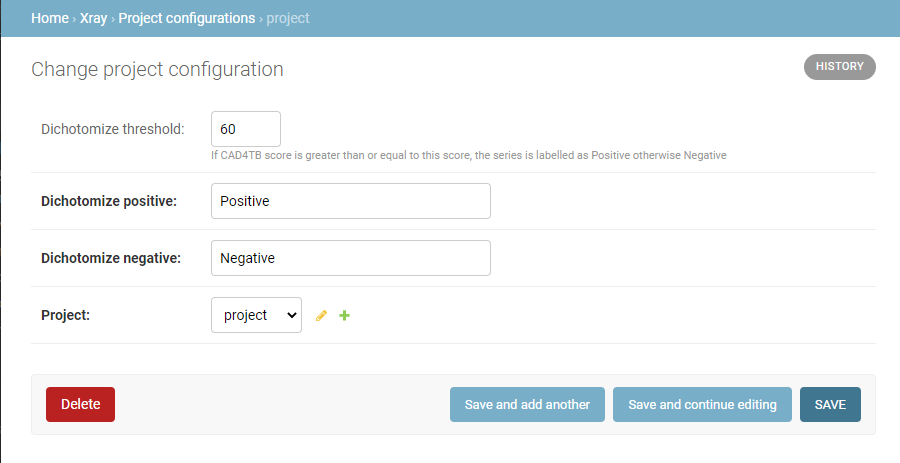
Fig. 1.17 Add/Edit Project X-ray Configuration
Configurable options:
- Dichotomize threshold:
CAD4TB Score values greater than or equal to this value will have a value matching that of “Dichotomize positive” otherwise the value of “Dichotomize negative” will be used. Entering no value for the threshold will disable this functionality.
- Dichotomize positive:
The value used to represent a “Positive” CAD4TB case.
- Dichotomize negative:
The value used to represent a “Negative” CAD4TB case.
- Project/Archive:
The Project/Archive on Cloudviewer for which the configuration will be used when a CAD4TB score is saved.