4. Reporting
The system has a feature that enables to user report on each image. For information on how it can be used, consult the reporting section of the user manual, and information on enabling/disabling the form can be found here.
Adding new reporting forms, changing existing forms, or checking submission, can be done in the admin interface. After logging in to the admin page, visit the Reporting section, and click Forms (Fig. 4.4).
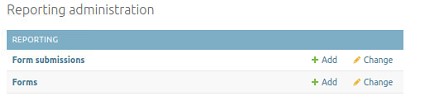
Fig. 4.4 Admin reporting forms
4.1. Forms
To add a new form, click the Add button (or Add form), and to change an existing form, click on the name of the form you want to change. This will open a new page to edit the form (Fig. 4.5).
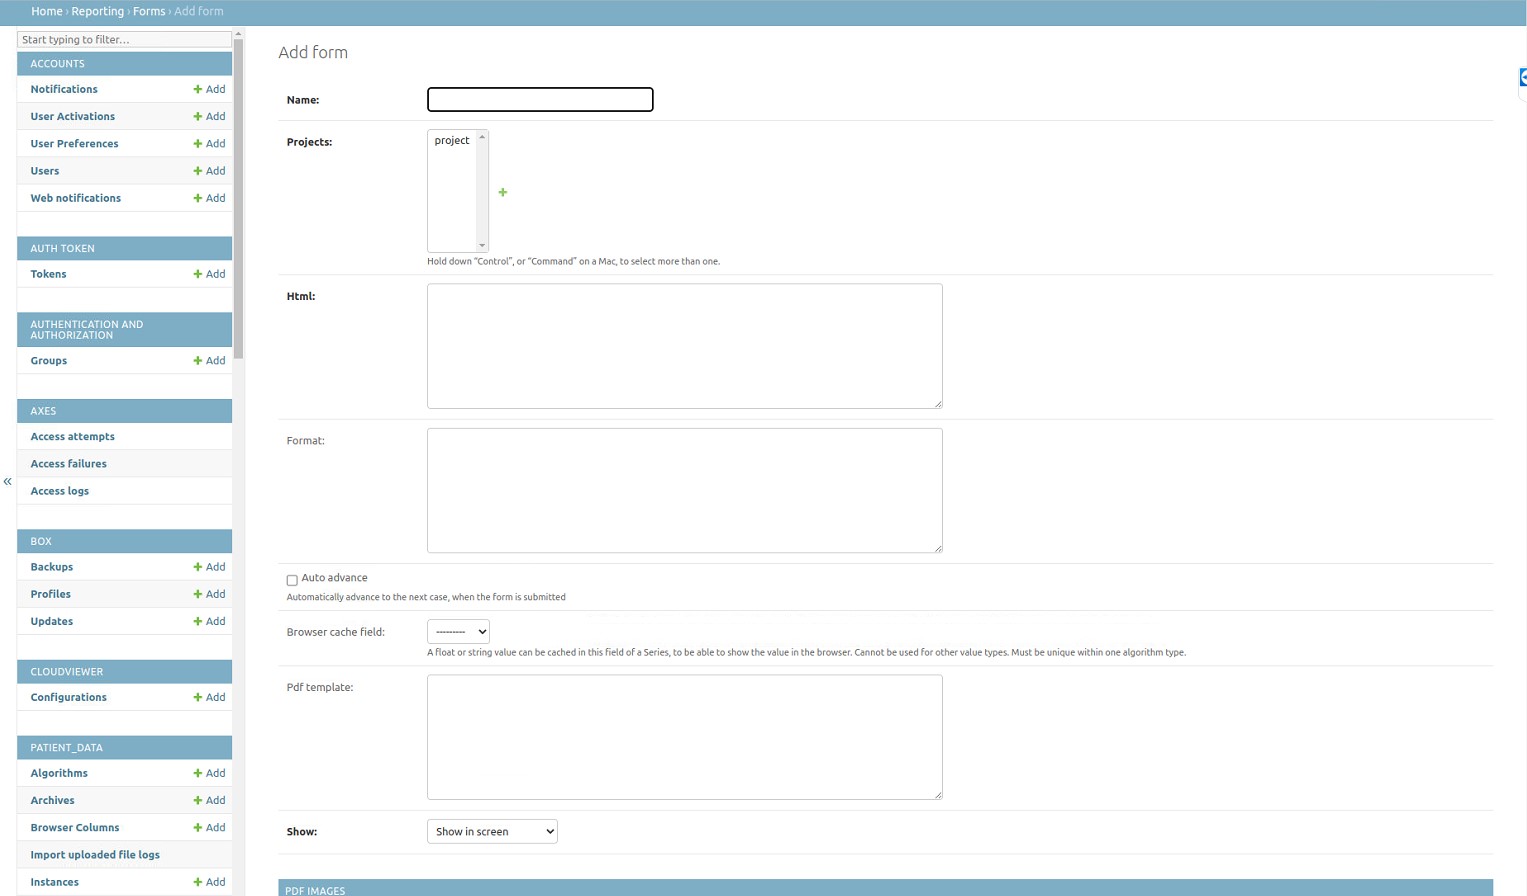
Fig. 4.5 Edit reporting form
The following fields are shown:
- Name*:
The name of the form. This name will also be shown in the front-end settings menu.
- Project*:
Project to which the form belongs to. Each form can only belong to one project at the same time.
- Html*:
The actual html of the form that is rendered. An easy online tool for creating forms can be found at http://www.bootsnipp.com/forms.
- Format:
The format which is rendered in the browser table. Specific details on how to specify the format can be found on https://docs.djangoproject.com/en/1.8/ref/templates/builtins/
- Auto advance:
By enabling this the viewer will automatically redirect to the next item when the form has been submitted. This does not work for forms in a separate tab or window.
- Browser cache field:
The browser has two cache fields to store reporting data in for each project. I.e. in each project, only two forms can be shown in the browser.
- Pdf template:
The HTML template that is used to create the PDF. PDF generation uses xhtml2pdf. When using CSS please refer http://xhtml2pdf.readthedocs.io/en/latest/reference.html to check which properties are available.
- Show*:
Here you can select where the form needs to be shown in the viewer. Choices are ‘Show in screen’, which shows the form in the left lower corner of the viewer when a case is opened; ‘Show in seperate tab’, which opens a seperate tab in the browser to show the reporting tool and ‘Show in pop-up’, which opens a seperate pop-up to show the reporting tool. Note: If you want to print your reportings, please choose ‘Show in seperate tab’ or ‘Show in pop-up’.
- Pdf images:
Here you can load images that need to appear in the report (for example the logo of your company). When putting them in your template use
<img src={{ image.<name> }}>
* Required fields
After all required fields have been filled in, the form can be saved, by pressing the Save button.
Note
The html field of forms that have submissions, cannot be changed to ensure the validity of existing submissions.
Important
Make sure that each of the fields shown in the form, has a unique id to ensure uniqueness of entries when saved in the databse. Reporting functionality should be tested at all times to ensure the results are as expected.
4.2. Form submissions
To view existing form submission, click the Form submission link shown in (Fig. 4.4). This will open a new page listing all existing submissions. Each of these submissions contains the following information:
- Form:
The form that is used for the submission.
- User:
The user that filled in the form submission.
- Series:
The series object for which the form was filled in.
- Entry:
A JSON representation of all values in the form. The keys of the JSON are the id-s of the form’s fields.
- Entry formatted:
This shows the entry formatted according to the Format field of the form.